MLSB Blog Hop and Giveaway!

Friday, May 20, 2011

Welcome to the Scrapfarm and another stop along the My Little Shoebox bloghop! To those of you who have been before I thankyou for your continual support and for those of you who are visiting for the first time - hello!

Today's bloghop is all about showcasing the gorgeous new 'Heartfelt' mid-release from My Little Shoebox and if you love pink and pretty you are going to love today's hop. Heartfelt is a subtle collection with beautiful soft hues in pink, aqua, brown and cream and boasts pretty flourishes, ever popular music paper and my all-time favourite 'polka-dots'. Heartfelt adds a new level of sophistication to the MLSB line-up that I'm sure you are going to love!

Now our assignment was to use the Heartfelt collection and the monthly sketch as inspiration... and I'm pretty thrilled to say that the sketch design this month is my very own design.


Could you see yourself falling in love with this new collection from My Little Shoebox? Well today is your lucky day as we have the complete collection up for grabs just for leaving a comment on the MLSB blog after you've completed today's blog hop.


So, if you are following the order you should have come from Mandy Starner's blog to mine and the next stop along the way is:

Good luck and happy hopping!


From farm to you...
Photobucket

Sneaky Peek...

Tuesday, May 17, 2011


Hmmm... looks like I've been rolling flowers again and perhaps playing with a bit of hessian. If you would like to see what I have been up to then you are going to have to pop over to the Pebbles blog HERE as today they have posted my 'how to' on creating this project... wonder what it could be?

From farm to you...


Photobucket

Lime green lollipop lion...

Sunday, May 15, 2011


My funny girl puts up with most crazy ideas from her mum but this one took the cake. I was in desperate need of a photo that would compliment the colourscheme of the papers I was using for this project and she obliged without hesitation and even rummaged in her dress-up stash to find this lime green feather boa. Funnily enough she didn't wear it around her neck she threw it over her head and posed for the shot. Some 50 photos later and lots of laughs as we both agreed she looked just like a lime green lolli-pop lion!


Now, I must confess this is the first time I have ever needed to take a photo specifically for a layout and had hoped that my scrapping wouldn't come to this point - but alas it has, well for this project anyhow! I recieved a pack of Glitz Designs 'Hoopla' products from Scrapbooking Memories magazine for a promotion and I readily admit the colours stumped me. I turned the papers over and over and couldn't quite get a grasp on them until I decided that a photo-shoot was in order. Once the feather boa made it's appearance everything seemed to fall into place.

Here's how it looked in the magazine:

We were asked to create a single layout and card using the products supplied from Glitz Designs whom I've never used before but thankful I had the opportunity as it was lovely quality paper and fun designs. Just took a little bit of getting used to. Seriously... it was just the lime that got me!


I have lots in store for the rest of the week with a tutorial coming up on the Pebbles blog on Tuesday, and a sketch challenge blog hop for My Little Shoebox using my very own sketch which is a bit exciting as it's the first sketch I've supplied as a design team member.

From farm to you...
Melinda

The big roll out...

Tuesday, May 10, 2011

Imaginisce have been on a roll lately with new products hitting the shops week after week and the latest release are the new Roly flowers. They've included a new line of paper flowers with warm colours, cool colours and neutrals containing book paper and music paper which always remain popular within the industry. And my favourites are the new fabric flowers including denim, pink swirl and text print with a larger roller tool to allow for the thicker medium.


All this week the Imaginisce design team will be showcasing their projects using the new floral collection and my project is up on the Imaginisce blog today! I've had this glass bauble sitting on my desk waiting for my box to arrive and my ideas have changed dramatically every time I've looked at it... I never imagined that I'd end up with this...


At first I didn't quite know what to do with a glass ball that had a hole in it, until I had a sudden bright idea to fill it with vanilla scented oil... the colouring came later after I'd chosen the flowers and realised that the clear liquid didn't make much of an impact and was almost impossible to photograph.


Another fun element to my bauble was the addition of the new solid white hot glue using the i-bond that were supposed to represent a similar effect to melted drips of candle-wax... I didn't quite get the right look but I'm happy with it regardless.

So how did I make my vanilla scented bauble:

STEP 1:
Turn your i-bond on so it's hot and ready to go. Take one glass bauble (purchased at my local florest) with hole for liquid and give it a good clean with methylated spirits.


STEP 2.
Working from the centre of your bauble back towards the top, start melting lines of the solid white glue. I used a technique similar to cake decorating... place the first drop of glue where you want it to begin and then lift the glue up and off the bauble and then lay it down as you go to create a straight and neat line rather than trying to glue it directly onto the bauble which will cause wobbles from even the steadiest hands.


STEP 3.
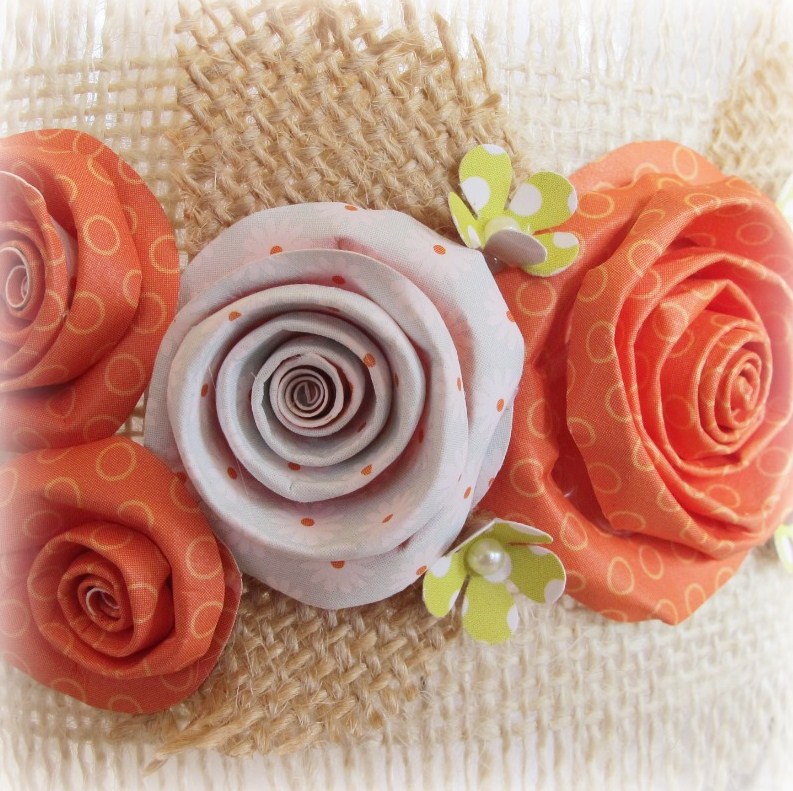
Set your bauble aside... I sat mine in a large cup to dry. Choose your flowers and begin to separate them from their die-cut backing. I used a combination of the new Roly Rosie Neutrals and Roly Rosie Cool Colours.


STEP 4.
Using the roller tool begin loosely rolling your flower from the outer edge into the centre circle where you will add a dob of hot glue to fix your flower into place.


STEP 5.
I like to roll my petals around the shaft of the tool just to give them a neat rolled effect before sanding off the little tabs with the d-stress tool. At this stage you can add some glitter or ink to the edges of your flowers. I left mine as I was after a fairly neutral appearance.


STEP 6.
I added staimens to the centre of my flowers by adding a dob of hot glue to the ends and poking them into the flower with a pair of tweezers.


STEP 7.
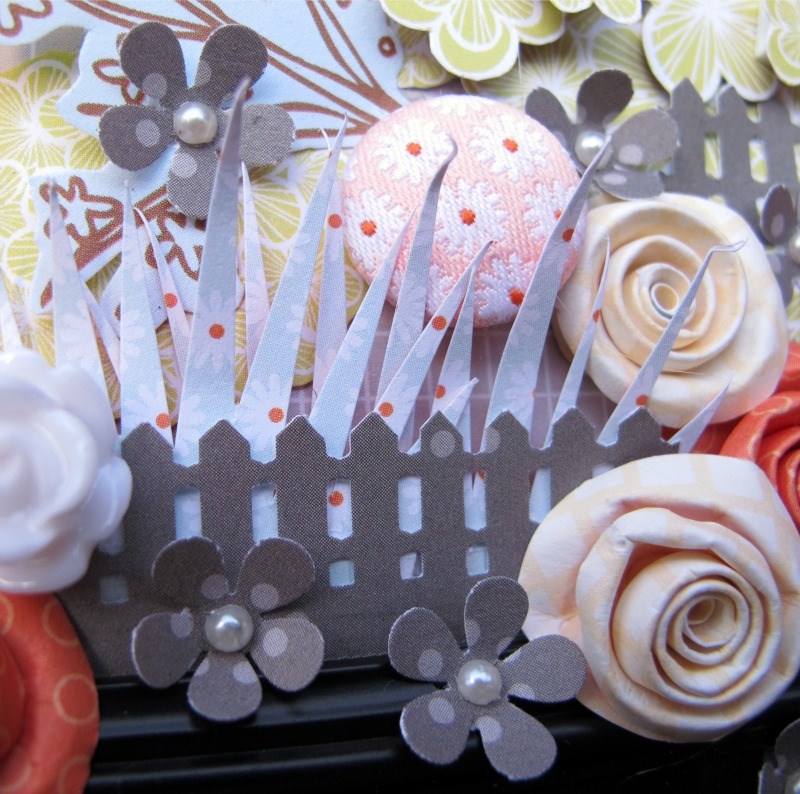
Time for decorating... firstly I sat my bauble back into the large cup. I then cut a few leaves using my Cricut and the 'Straight from the Nest' cartridge along with some of the cute brown polka dot paper from the Berrylicious collection. Using the i-bond I attached the flowers and leaves around the top of the bauble before filling with the scented oil. I used a small kitchen funnel to add the oil. Lastly I attached a long ribbon to the bauble for ease of hanging it place.


I hope I have inspired you to think a little bit outside the box and create something that is a little different and smells wonderful. My bauble is now hanging over my scrappy space!

Don't forget I have my GIVE-AWAY for all the Imaginisce new release i-rock accessories and tool which you can enter HERE.


From farm to you... Melinda x

Happy Mother's Day!

Sunday, May 8, 2011

Motherhood is a something I never imagined for myself as a young adult, too busy travelling the world and enjoying 'me' time. My darling mum always said "do the things in life you want for yourself before you have children, because once you become a Mum you never put yourself before anyone again". I took heed on those words and did so much with my life before I had children and I appreciate the words of wisdom from one of the most generous, loving women I've ever known... my own Mum!


I've finally created something just for me... I made a frame to put in my room with a photo of my little man just minutes old having his first cuddle with his mum. And this morning for Mother's day I had another cuddle (at 6am) from that same little boy who is now 5 and it still makes my heart melt. Then he starts fighting with his sister and that feeling slips away for another day... LOL!


I was lucky to be part of a product swap with Pebbles and it's parent company American Crafts, although it was more like a product 'merge' as the two companies work so well together. I took my time on this one, lots of fussy cutting, rolled and punched flower, rub-ons, pearl flourishes etc... it was a joy to make.


Both Pebbles and American Crafts had an entire week dedicated to the design team product swap so pop on over to their blogs to spy all the wonderful creations by the rest of the teams.

Now, my children are already asking what I would like to recieve for Mother's Day next year, so first and foremost on my list will be a 'sleep-in'.

From farm to you...

The big bling give-away!

Thursday, May 5, 2011

Thankyou to everyone who has left such wonderful comments on my blog as it just wouldn't be as much fun without you. I really appreciate each and every word of encouragement so again, thankyou!

Now I have a current competition running that was started during the Imaginisce release week for the new i-rock accessories and I mentioned I had a bit too much stash mounting up. Well I thought it would be a great idea to put the call out for a new home to love and play with these goodies. And now I can show you pictures of what the prize will be and one lucky winner will be announced on the 1st day in June.


I have selected a yummy assortment of all new release accessories that are only just hitting the stores now!
To enter see all details HERE! Good luck!

From farm to you...

My first official project...

Wednesday, May 4, 2011

I'm finally earning my DT stripes at My Little Shoebox with my very first official project on their blog. And I must admit I loved working with a new and scrummy collection. 'Sew Cute' is very typical of the whimsical style of MLSB and exudes bright colours and fun patterns. However, I chose to go the flip-side and use some of the more neutral colours.


 My niece is leaving her childhood behind and growing into a young woman who has just started high-school and this photo shows a little of both sides... her sweet and cheeky side and her serious, maturing side. They grow too fast so it's nice to stop and take a moment to reflect!

I created the cream on cream look using the Christina Rae Lace border punch from Fiskars and the reverse side of the 'Sew Crafty' patterned paper.


I'm really loving the dress forms within this collection as it's something I've always loved but never used on my projects until now. These flowers are the quickest and easiest flower I've ever learned to make and I think I've used them on just about everything I've done lately... can never get too much of a good thing! Although this time I added a Pearl Candy Dot from the Pebbles Mr & Mrs Collection just to add that extra touch.


Well that's it for my first official My Little Shoebox project... I'm still getting used to it and am really thrilled to have made the team, they are a wonderful bunch of girls and I'm sure you are going to be seeing lots of fabulous work from them on the MLSB blog which you can view HERE.

From farm to you...

American Crafts Give-Away winner

Monday, May 2, 2011

Well I've been a little quiet of late because I've just spent the past four days without internet access or telephone so had to resort to just being a mum and wife for a change. He he, is was actually nice to spend some time with the kids and cooking up a storm in the kitchen, so now we have a pantry brimming with slices, biscuits and cakes... not exactly great for the wasteline but it was fun.

Now onto some business, it is time to draw the winner for my American Crafts give-away and as per usual I've used the random generator to make everything fair. So congratulations goes to...


Sillypea - could you please email your address and details to thescrapfarm@bigpond.com and I will get your prize out to you as soon as I can. Thanks and congratulations.

Now, don't forget I have another super give-away going which you can find HERE.